
How to upload content and products to a WordPress website
How to upload content and products to a WordPress website
Things to note before uploading products to the WordPress website:
- Product name and Description
- Product category
- Product tags
- Product Images and Featured Images
- Product Type
- Stock Keeping Unit number (SKU)
Steps on how to upload a product
- Navigate to the dashboard: Navigate to the WordPress admin panel, after successful login by clicking the WordPress icon, usually at the left upper corner of the admin panel.
In your admin sidebar, navigate to WooCommerce > Products > Add New Product. After that, you will have a window similar to the image below. Here you will have to add the product title and the product descriptions
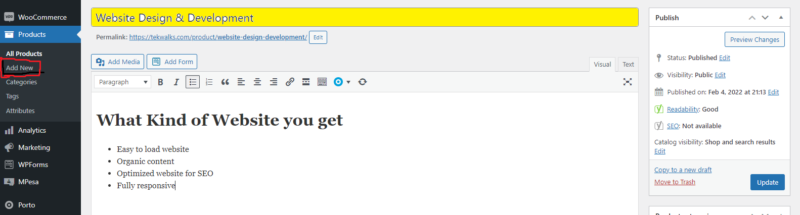
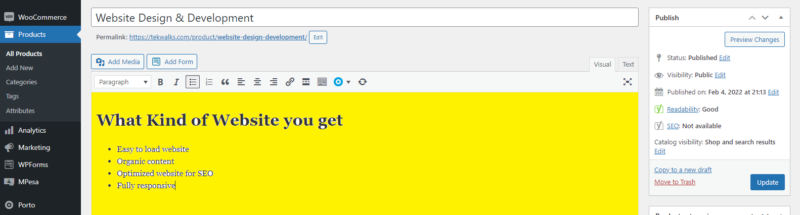
The product description entails what the product is about, where the product is used, etc. Here is where all the information about a particular service or product is pasted.
2. Adding a product category: – Go to the right-side bar of your WordPress menu and navigate to “product category”. Add a new > Choose parent category as shown in the image below. This step 2 is applicable when you don’t have the product categories in your website.
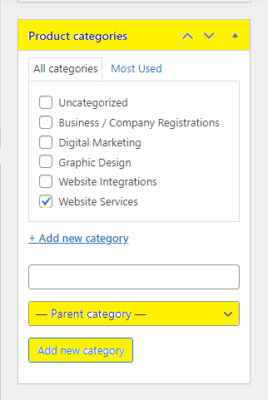
Product categories help to group products that have the same feature together so that they are easily accessible, and also improve user interaction.
A product category may have a parent category as the main category as well as subcategories. These features are shown in the image below. It is necessary to have categories and subcategories.
For example:
- Category: Website Services
- Subcategory: Website Hosting, Website Ranking, Website Maintenance
3. Adding Product tags – Below the product category, here are the product tags. which is descriptive additional information that helps in product SEO and product crawling. Product tags are usually relevant to the product title. Product tags.
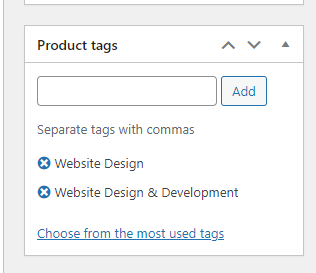
However, this is an alternative to what a user might search for on your website as well as the search engine and be directed to a relevant product or service that you sell. Tags can be as many as possible. The more relevant product tags on a website, the higher the capabilities of that product ranking. Products tags are sometimes considered by the crawler as key words
An example of how product tags are derived:
- Product / Service title: Website Designers
- Product Tags: Best web Designers in USA, Web Developers, website, WordPress
- Product title: Smart android 32-inch TV
- Product Tags:TV, Smart TV, 32 inch TV, Television, and Android TV
NB: Tags are usually crawled by the search engine;
Tags are separated with a comma.
Learn more in Search Engine Optimization. (SEO).
4. Add Product Images – The main product image is the image that is seen at the user end. Normally, we have the main image and a featured image
.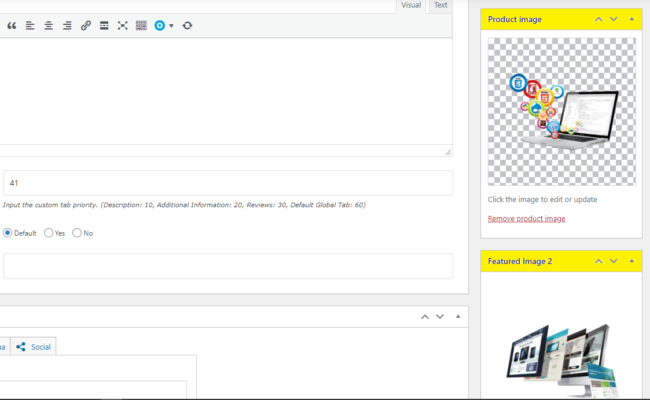
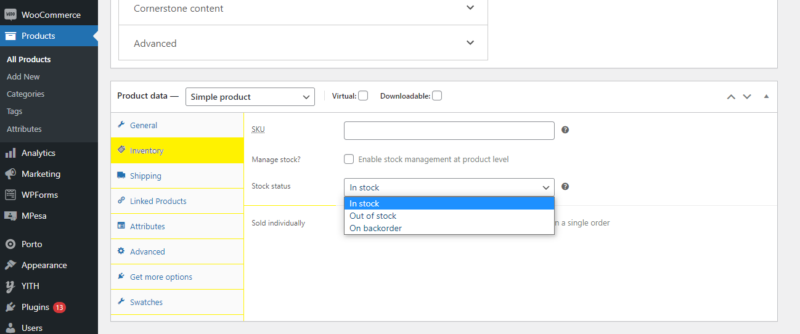
Adding product data – after product description, scroll down to product data. Here you will choose the type of your product. You will also have the option to choose if the product is virtual or downloadable. Product type- By default; if you are selling a normal product, you will choose the option for simple product as shown below.

What product data entail?
- Product type; Simple Product, Virtual Products, Downloadable product, External or Affiliated Product, Variable product and Grouped products
- The product’s regular price is the normal marked price of the product or service while sell price is the discounted price, buying price, or the final price at which the product or service is to be purchased.
- Inventory – helps you manage the stock of an individual product. Here you can choose a product to be out of stock or back order
- Shipping
- Tax
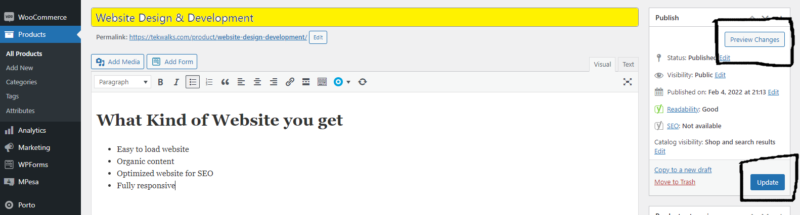
Publish/Update Product – after all necessary information is Witten in respective fields, Go to publish Button at upper right side of your WordPress admin panel. publish button is used to submit the content/ post to End user client. You can also preview your content before publishing using the preview button


Leave a Reply