
How to Configure WordPress to Use SMTP For Sending Emails
Configure your WordPress SMTP (Simple Mail Transfer Protocol)
Configure WordPress SMTP and it will help you receive notification through emails in your inbox regarding any payment, inquiries, registration and website errors that take place in your website.
Emails can be forwarded using SMTP to a domain or to another system. You will learn how to set up SMTP as a forwarding agent on your website in this post, and you’ll also get an understanding of how emails travel between computers.
The default email sending method for WordPress is the PHP Mail function. You can send emails from a third-party mailing service using SMTP, which has better message sending capabilities.
To send email messages over the Internet, the Simple Mail Transfer Protocol is employed (SMTP). Most email clients utilize this protocol to deliver information to servers, and servers use it to route emails to their designated users, which include websites and mobile applications.
Installing SMTP Plugin
To Configure WordPress SMTP, Install and activate the WP Mail SMTP plugin by reading the steps in our WordPress plugin installation post. After installing and activating the WP Mail SMTP plugin, a new option called WP Mail SMTP will appear in your admin side bar. To configure WordPress to integrate with SMTP, navigate to the WP Mail SMTP option, hover and click on setting
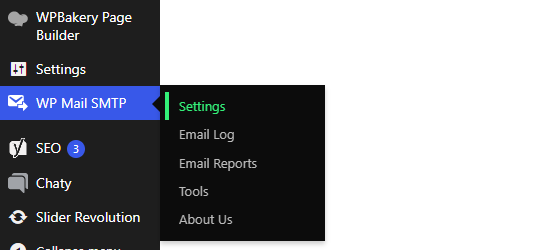
after clicking on settings, a configuration dashboard for WP mail SMTP will appear starting at the general setting tab

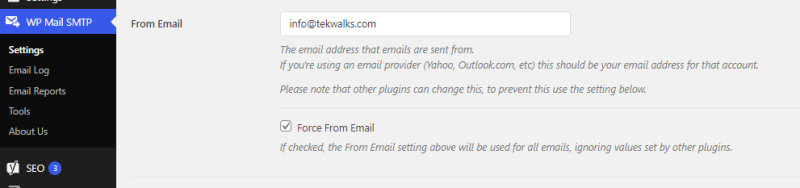
From Email
This is the email where the notification emails will come from, users will see this this email as the sender of the message. Each time a user register or places an order, this is the email that will be used to send the client an activation link for his or her account and even order notification respectively. This could be your domain ie : [email protected] . Choose the Force from email to ensure the email you provided will be used across all email forwading in your website
- From Email : your domain email/ custom email
- Choose force from email
From name
This is the name that all notification emails will show in the user inbox, users will see this this name as the sender of the message. Each time a user register or places an order, this is the name that will to show the sender’s name of the emails. This could be your company name or even personal name. Select the Force from name to ensure the email notifications that are sent will include this name as the sender
- From name : Sender name/ Company or business name
- Choose force from name

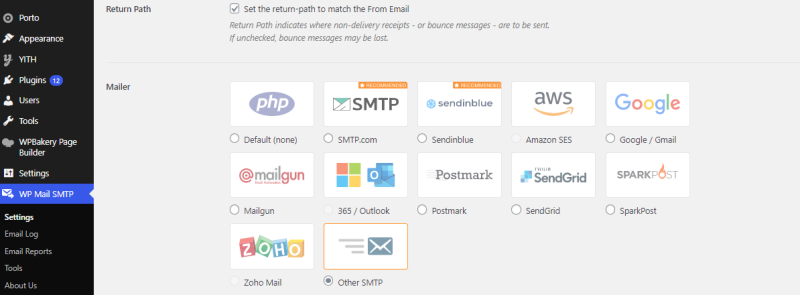
Return Path and Mailer
Return Path indicates where non-delivered emails or bounce emails are to be sent. If unchecked, bounce messages may be lost. The sending email you provided will act as the return path. Under Mailer option, choose your preferred SMTP servers. in this article we will be using the Other SMTP servers. You can as well use the default mode PHP mail () function, but this option ensures that messages and emails are sent using the PHP mail () function without SMTP authentication.
- Return path – select this option
Mailer – Choose Other SMTP
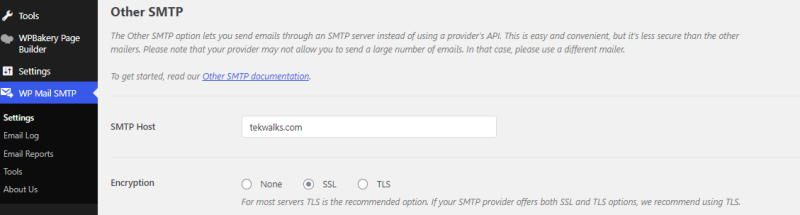
Other SMTP – (SMTP Host & Encryption)
Configuring this part, you should be very careful because this is where the SMTP server and your website integrate. If you are not sure about the information you are providing in this section, you can counter check it from your host provider under configuration tab. Read out tutorial on how to check Email configuration setting
The Other SMTP option lets you send emails through an SMTP server instead of using a provider’s API. This is easy and convenient, but it’s less secure than the other mailers. Your provider may not allow you to send a large number of emails. In that case, use a different mailer. SMTP Host is the IP or hostname for your SMTP server where in this case is the domain name, and the Encryption is the security certificate used to encrypt information while sending messages. most site use SSL encryption
- SMTP Host – Domain name
- Encryption – SSL
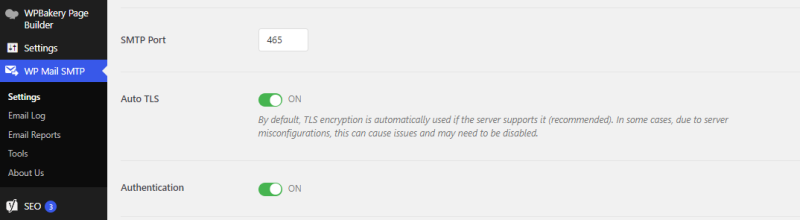
SMTP Port, Auto TSL and Authentication
An SMTP port is a communication gateway that manages the sending of email data from one server to another via SMTP (Simple Mail Transfer Protocol). The SMTP port sends the required message to the desired destination. Any networked service, whether you’re sending an email or browsing the online, requires two elements to properly route communications: a web address as the domain name and a port. The smtp port should blend with the one at you email host configuration, but in most cases 465 is used. If your server supports TSL, then its recommended to enable this option under Auto TLS. Select Authentication to ensure that the server authenticate the information you provided for security purpose.
- SMTP Port – 465
- Auto TSL – On
- Authentication – On
SMTP Username and SMTP Password
SMTP Username is the email you want to send messages from as provided in the FROM EMAIL option i.e., [email protected]. Use the correct password of your email provided above in the SMTP username as SMTP password. this is the password of your send from email.
- SMTP Username – [email protected]
- SMTP Password – Correct Email Password
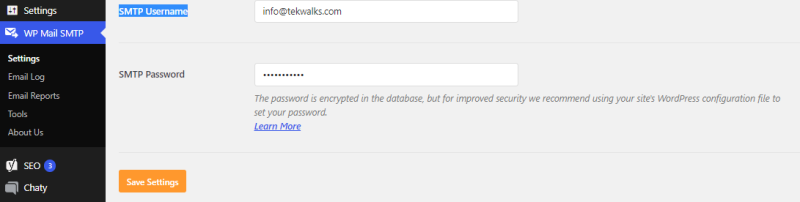
After making the correct configurations, click save button to save all you changes made


Leave a Reply